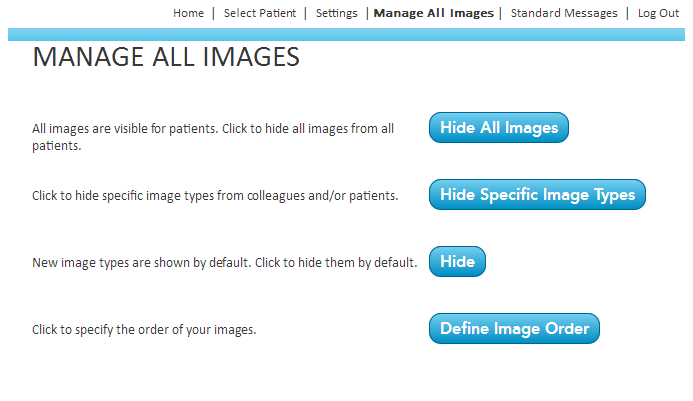
Using the Manage All Images page, you can choose to hide or display images by type and audience.
The first option allows you to hide all images completely from your patients. This will prevent patient images from displaying on their Patient Pages, but does not prevent your colleagues from gaining access to those images. This setting overrides any settings defined elsewhere on this page.

The second option allows you to select which image types are visible individually to both patients and colleagues. When you click on the Hide Specific Image Types button, you will see a list of all the image types defined by your digital imaging software. Each image type will have a name and the number of images assigned to that type. Using the check boxes in the Hide from column, you can choose to hide each image type from either patients or colleagues, or both.
Click Apply Changes to save these settings.

On the Manage All Images page, the third option gives you the ability to hide new image types as they are created. When this is enabled, you will have to use the Hide Specific Image Types page to make images assigned to a new image type available for your patients or colleagues.
The last option on the page allows you to define the order of images as they appear for your patients in their Patient Pages. When the page opens, you will first see radio buttons to enable or disable image ordering. If enabled, you can use the lists below to move an image type from the "List of available visible images" to the Image order. Using the Up and Down buttons, you can rearrange the order of image types.
When you are finished, click the Save and Preview button to save your changes and return to the Manage All Images page.
 Looking for more information? Check out these Related Pages!
Contact our Member Services team at 866-537-8272, Monday - Friday 6 AM to 4 PM Pacific Time.


